
3PL Integration: Automating Order Processing Explained
If your orders still move through spreadsheets, inboxes, or manual re-entry, you will hit delays and stock errors as volume grows. I’d sum this up in one line: map the workflow first, connect the systems second, and test every failure path before go-live.
Here’s the short version:
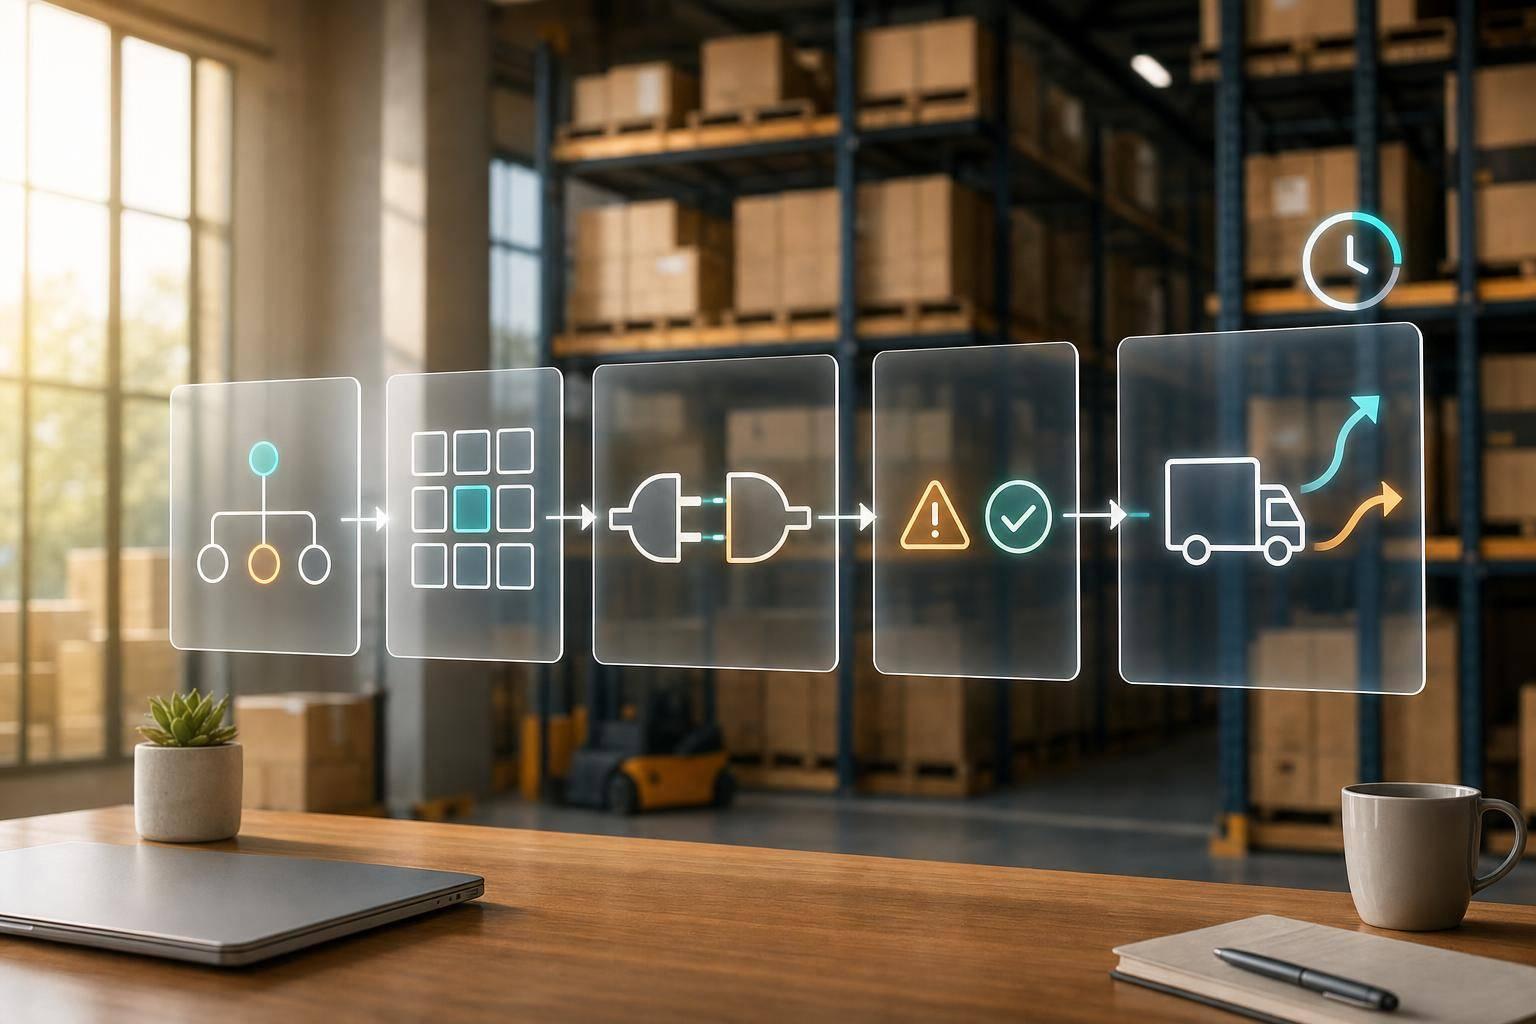
- I connect the storefront, OMS, ERP, WMS, and TMS so orders, inventory, tracking, and returns move without manual handoffs.
- I define field mapping early: SKU, quantity, shipping method, address, status, weight, dimensions, and lot or serial data.
- I set rules before build: routing, holds, split shipments, stockouts, cancellations, and carrier service mapping.
- I choose the right connection method: API for near real-time updates, EDI for retail partner flows, and connectors/middleware for multi-system setups.
- I test edge cases like partial shipments, backorders, cancellations, bad addresses, and failed transmissions.
- I track performance with metrics like inventory accuracy above 95%, often 99.5%+ in strong warehouse setups, plus order processing time, on-time ship rate, and return processing time.
- I keep watching sync lag, queue volume, and exception alerts after launch so problems do not pile up.
A few numbers stand out. Integrated fulfillment can cut order processing from hours to seconds. Inventory sync may need to run every 5 minutes or less for fast-moving DTC brands. And same-day shipping often depends on a clear 12:00 p.m. cutoff written into the workflow.
At a basic level, this is not just a system connection project. It is a workflow and rules project first. Once that part is set, the same setup can also support kitting, returns, white-glove services, testing, and vendor-managed inventory.
That’s the main idea of the article: clean data, clear handoffs, tested exceptions, and written service rules lead to fewer manual touches, fewer fulfillment mistakes, and faster order flow.

3PL Integration: Automating Order Processing from Checkout to Fulfillment
How Are 3PLs Embracing Warehouse Automation and AI?
sbb-itb-eafa320
Step 1: Map the Order and Inventory Workflow Before Connecting Systems
Start with process design, not code. First, map the full path an order takes from checkout to refund, including every system handoff along the way.
"Integration is not just wiring APIs; it's aligning on business outcomes." - Ashley Taylor, Product Manager, Cleverence
Keep the system flow simple and clear in a block diagram: storefront, OMS, ERP, WMS, TMS, and returns portal. Also include spreadsheets and manual overrides. Those side paths often slow things down and lead to data drift.
Once the workflow is mapped, define the fields each system needs to send and receive.
Document Every Handoff and Required Data Field
Use the workflow map to spell out the required fields at each handoff. That usually includes SKU, UPC/GTIN, quantity, unit of measure, ship-to address, service level, order status, weight, dimensions, and lot or serial data when needed. A small mismatch can cause a big mess. For example, if one system uses SKU and another uses item_id, orders can fail to move through the flow.
"A 3PL integration problem often starts small but spreads quickly. One missing SKU cross-reference can prevent an order from importing." - Crackerjack-IT
Use one canonical order format so every sales channel maps to the same standard instead of needing its own WMS mapping.
Set Routing, Hold, and Exception Rules Early
Routing and exception logic should be set before development begins. Write down rules for ZIP code routing, address-validation holds, split shipments, and automatic escalation for stockouts or cancellations. These rules help avoid delays, oversells, and missed delivery promises.
Then map what should happen when an order can't move as planned. If a shipping method appears at checkout, it needs a direct match to the right carrier service before go-live. You also need clear ownership for inventory states like on-hand, available-to-sell, allocated, damaged, and returns-in-process.
Define the KPIs and Service Levels the Integration Must Support
Build the integration around measurable business results, not just system-to-system connection. Use metrics like these as control points:
- Order Processing Time: checkout to pick ticket generation
- Pick Accuracy: orders picked without errors
- Inventory Accuracy: physical count vs. system count, with a target above 99.5%
- On-Time Ship Rate: orders shipped within the promised window
- Perfect Order Rate: on time, complete, and undamaged deliveries
- Return Processing Time: receipt of return to restock or refund completion
For high-velocity DTC brands, this often means inventory sync every 5 minutes or less, plus a noon cutoff for same-day shipping. Put those thresholds in writing before development starts.
With the workflow, data fields, rules, and targets in place, the next step is picking the integration method.
Step 2: Build the 3PL Integration Using API, EDI, or Connectors
With your workflow mapped and your KPIs set, the next step is deciding how your systems will talk to each other. That choice affects data speed, setup effort, and how hard the integration will be to maintain later. It also needs to support the routing, hold, and SLA rules you already defined. On top of that, this is the decision that shapes field mapping, retries, and exception handling.
Choose the Right Connection Method for Your Workflow
High-volume DTC brands usually use API. Big-box and wholesale workflows usually rely on EDI. Multi-system operations often use middleware or connectors.
The right fit comes down to a few things:
- Order volume
- Sales channels
- Trading partner requirements
- How fast inventory and shipment updates need to happen
If updates need to happen almost immediately, API is often the better fit. If a retail partner requires a set EDI document flow, that usually makes the choice for you. And if you're stitching together several systems at once, connectors or middleware can save a lot of manual work.
Map Data Fields and Build Automation Logic
Once you pick the connection method, lock the field map before you build rules. Every order field - SKU, quantity, shipping method, destination address, and order status - needs a confirmed one-to-one match between your storefront, OMS, and the 3PL's WMS.
Shipping method mapping is one of the easiest places to mess this up. If "Express" in your storefront doesn't map to the exact carrier service code in the WMS, the order can go out on the wrong service. That can eat into your margins fast.
Before launch, add authentication, rate limits, and retries. Use idempotency keys so retries don't create duplicate transactions. For status updates like shipment confirmations, tracking numbers, and inventory adjustments, use webhooks instead of polling. Webhooks push updates as soon as a status changes, which helps keep your storefront and internal systems accurate within seconds.
Test Split Shipments, Cancellations, and Failed Transmissions
Testing is where an integration either proves itself or falls apart. Before go-live, run test orders through every edge case your operation is likely to hit.
That includes:
- Partial shipments
- Split shipments across multiple locations
- Mid-process cancellations
- Address validation failures
- Backorders
- Returns
Each test should confirm that orders recover cleanly, without duplicates, missed updates, or broken carrier handoffs.
You should also simulate hard failures: timeouts, malformed payloads, carrier outages, and downstream system rejections. For each case, document the expected system behavior. Does inventory decrement? Does a 945 Warehouse Shipping Advice get sent? Does tracking write back correctly across downstream systems?
Once those answers are confirmed in a sandbox, run UAT to check throughput under load before cutover. Route those exceptions into the same alert flow your ops team will use after launch.
Step 3: Configure Automation Rules Inside the Fulfillment Operation
With the integration built and tested, the next job is setting the rules that decide how orders move through fulfillment. Once the integration is live, these rules shape order flow, cost, and exception handling across the OMS, WMS, TMS, and integration layer.
Automate Routing, Carrier Selection, and Warehouse Allocation
Start with routing and warehouse allocation. These rules often vary by account. One brand might push for lower shipping cost and allow split shipments, while another may need single-box fulfillment or strict delivery-speed targets. Geographic rules can send each order to the closest facility based on the customer's ZIP code, which helps cut transit time and shipping cost.
Set inventory allocation rules in the WMS so the right channel gets stock first when several orders are chasing the same SKU. If retail orders need first access to inventory, build that into the logic. Carrier selection should sit in the TMS or integration layer, using rate shopping across national and regional carriers. DTC orders can lean toward speed, while retail orders need to follow the retailer's routing guide to avoid chargebacks.
Once routing is set, the WMS should handle the next part: how orders are picked, packed, and pushed back into the system.
Set Picking, Packing, and Inventory Update Logic
Set pick sequences based on warehouse layout and order volume. Then add cartonization rules and auto-label generation at pick confirmation. If you use EDI, set up order release and shipment confirmation documents so tracking updates and ASNs fire automatically.
For inventory, decide which system is the main inventory source before turning on sync. That keeps ERP, WMS, and storefront counts lined up and helps prevent overselling. Use event-driven updates so picks write back to the storefront within seconds. Add safety stock buffers in the integration layer to hold back a small reserve during peak demand.
After launch, these rules need regular review. The edge cases usually show you where automation starts to slip.
Monitor Exceptions and SLA Performance After Launch
After go-live, watch exceptions, sync timing, and queue volume every day for the first two weeks. Set automation to hold orders when address validation fails, inventory is short, a carrier service goes down, or SKU data doesn't match.
Build dashboards that show order accuracy, inventory sync lag, and exception queues in one place. If lag starts to climb, check transmission frequency and move feeds such as EDI 846 from daily to hourly to lower oversell risk. This kind of monitoring also helps spot delays between warehouse activity and system updates.
Conclusion: Extend Automation with Value-Added 3PL Services
Once the core workflow is steady, use that same automation for higher-touch services and returns.
How Advanced Services Fit Into the Same Automated Workflow
The same integration layer can support kitting, assembly, testing, white-glove handling, and returns when service codes and special instructions are mapped from the start. Do this during field design, not after go-live.
Returns can run through the same automated workflow in reverse, with inventory and ERP updates triggered at each step. For brands with complex bundles or subscription boxes, API-based connections can support flexible routing logic that rigid EDI formats may struggle with.
"A 3PL integration is what turns a fulfillment partnership from a series of email handoffs into a single, automated operating layer." - Nimbl Fulfillment
Vendor-managed inventory (VMI) and automated replenishment fit into this same layer as well. When 3PL-reported stock levels trigger purchase orders to suppliers on their own, you move from reactive restocking to a system that mostly runs itself. The same idea applies to replenishment: automate the handoff, and the operation grows with less manual work.
Key Takeaways for High-Growth U.S. Brands
The checklist is simple:
- Clean item master data
- Documented handoffs
- Tested exceptions
- Clear hold rules
The payoff is just as simple: fewer manual touches, fewer errors, and faster fulfillment. JIT Transportation supports this workflow with nationwide fulfillment and value-added services for pick and pack, kitting, testing, white-glove handling, VMI, and returns.
FAQs
How long does 3PL integration usually take?
The timeline depends on project scope and the tech involved, but many teams can get to fully automated order routing within six weeks of adding an automation layer.
That kind of rollout usually comes down to a few things: a clear integration plan, specific business goals, and disciplined testing from start to finish. JIT Transportation supports custom 3PL integrations with advanced technology and scalable infrastructure.
What causes 3PL integrations to fail?
3PL integrations often fail when teams add automation on top of messy or incompatible workflows. That usually shows up fast: item data doesn’t match, SKUs or product descriptions aren’t consistent, and inventory data doesn’t sync in real time.
Things can also fall apart for more technical reasons. Common trouble spots include API rate limits, frequent platform API changes, brittle custom code, manual batch processes, and gaps in transaction mapping between ERPs, WMS, and sales channels.
Which system should control inventory?
In an integrated 3PL setup, the WMS should control inventory. It acts as the main source of truth for stock levels, warehouse activity, and order fulfillment status.
When the WMS connects to your e-commerce systems, it syncs inventory in real time across sales channels. That helps prevent overselling and keeps stock visibility accurate.
Related Blog Posts
Related Articles
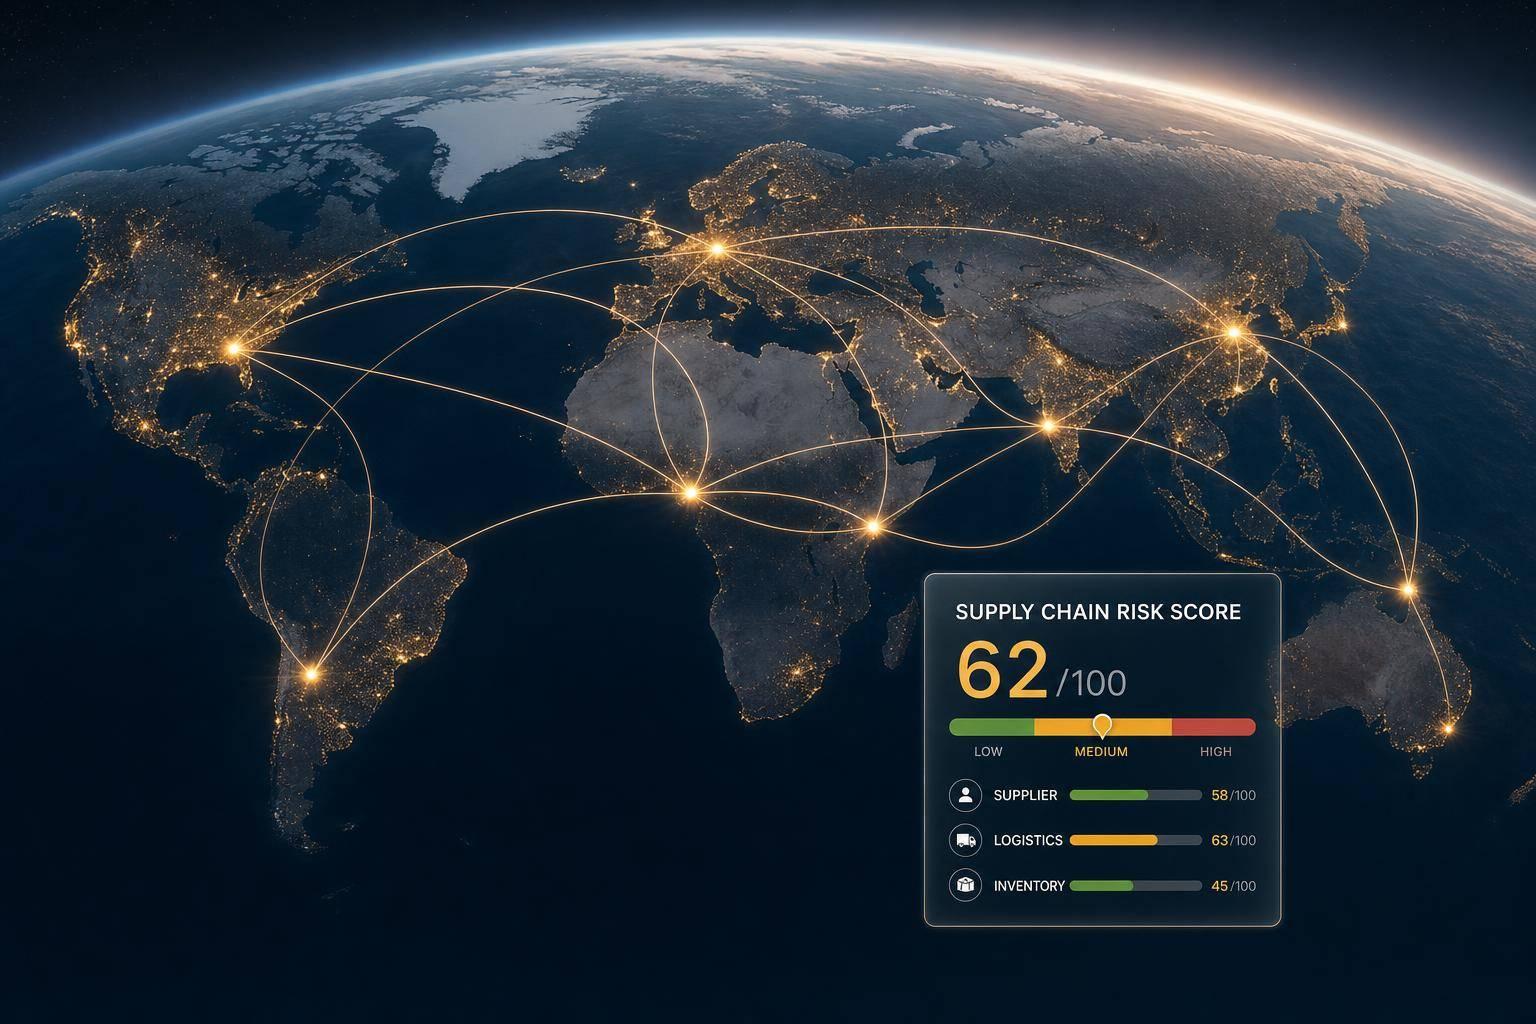
Supply Chain Risk Assessment
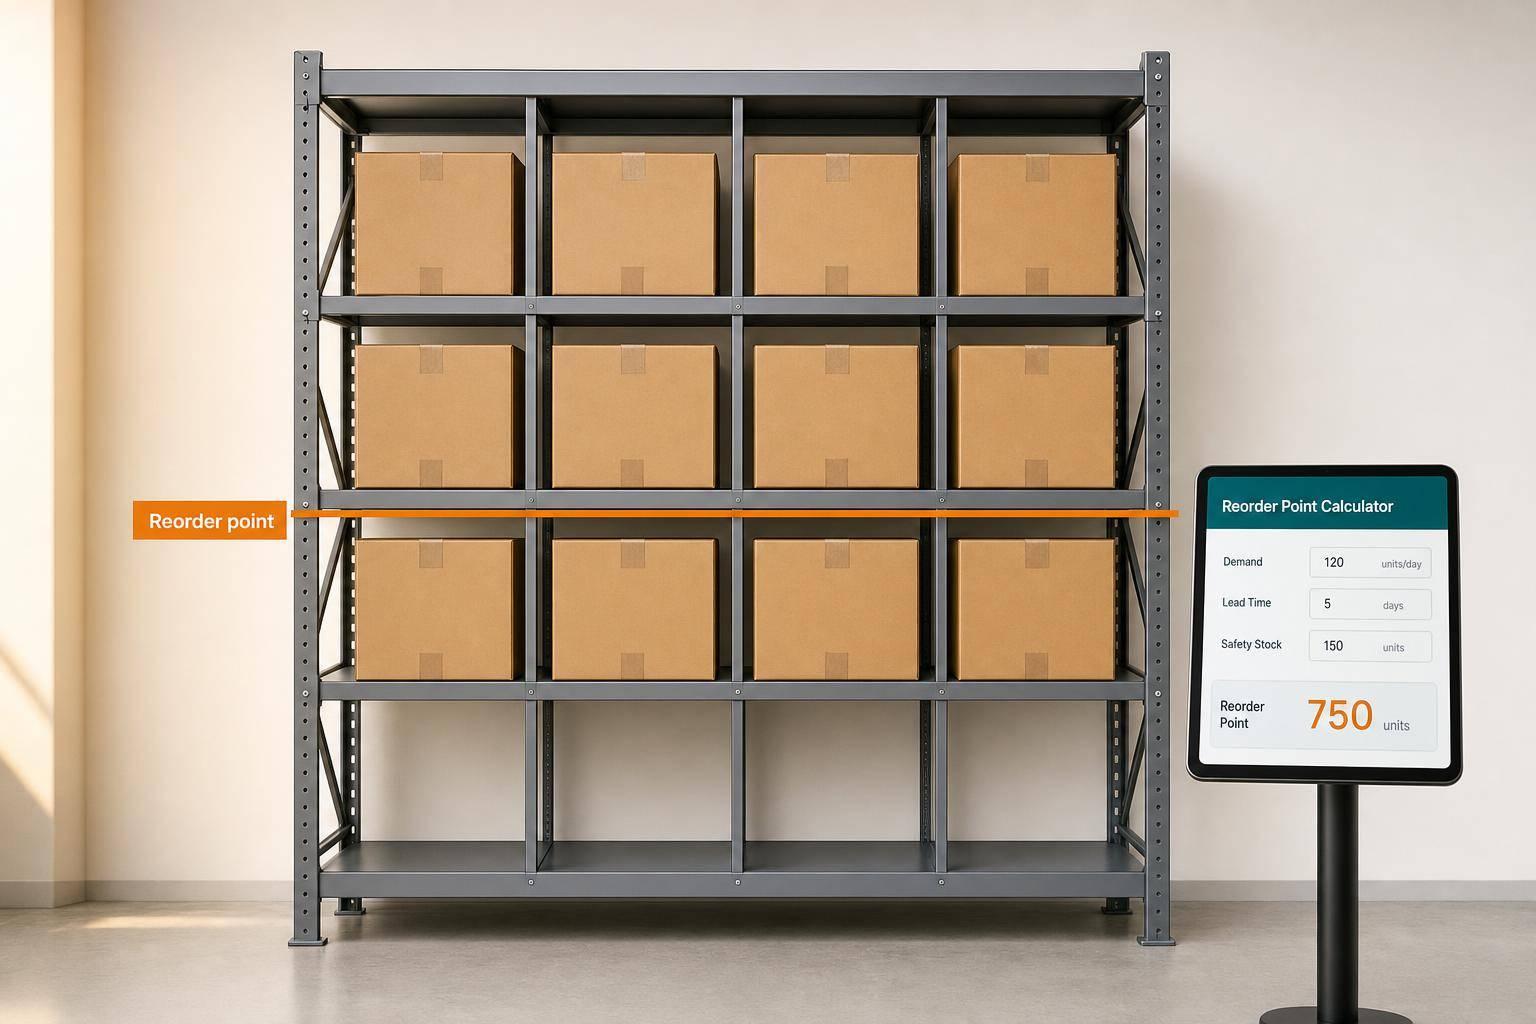
Reorder Point Calculator
